
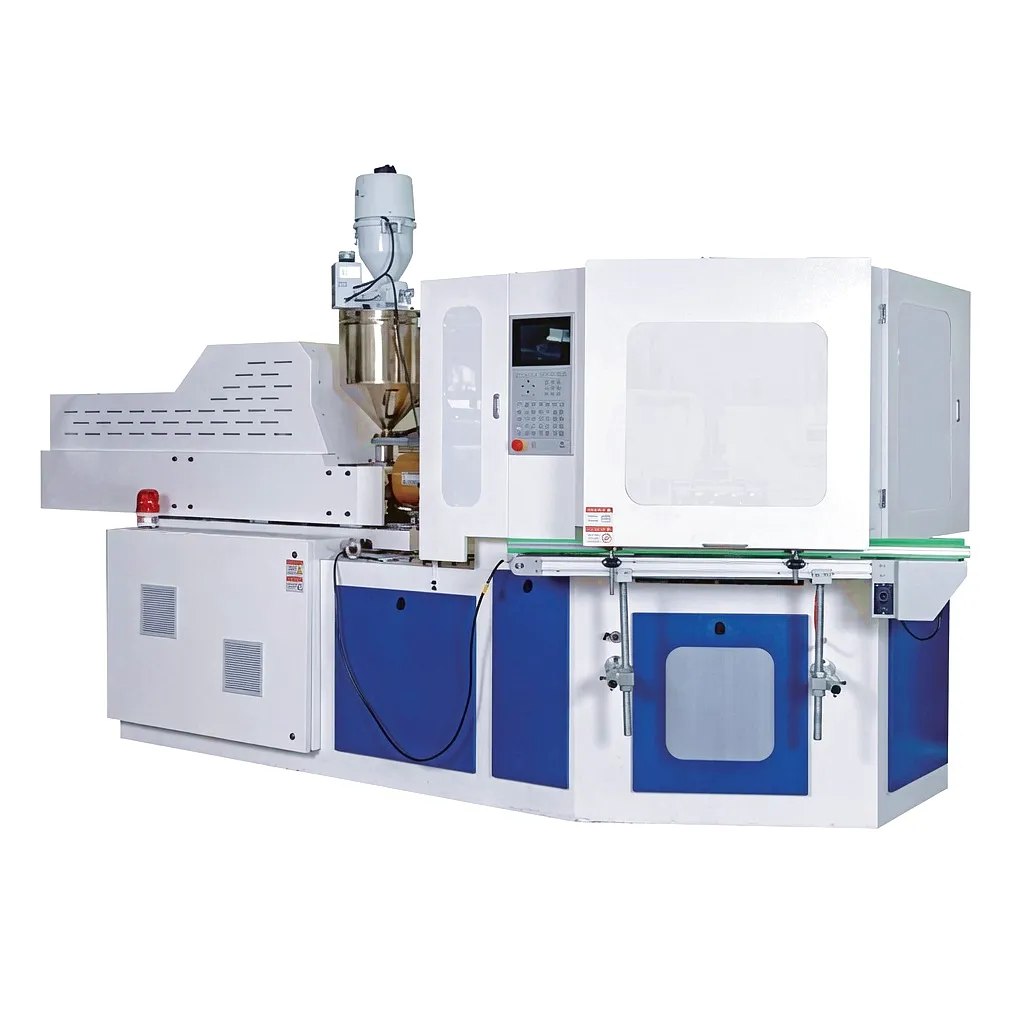
Need IBM machine tooling, mould sets, or expert changeover support for your UK facility?
Understanding the Process Before You Open the Machine
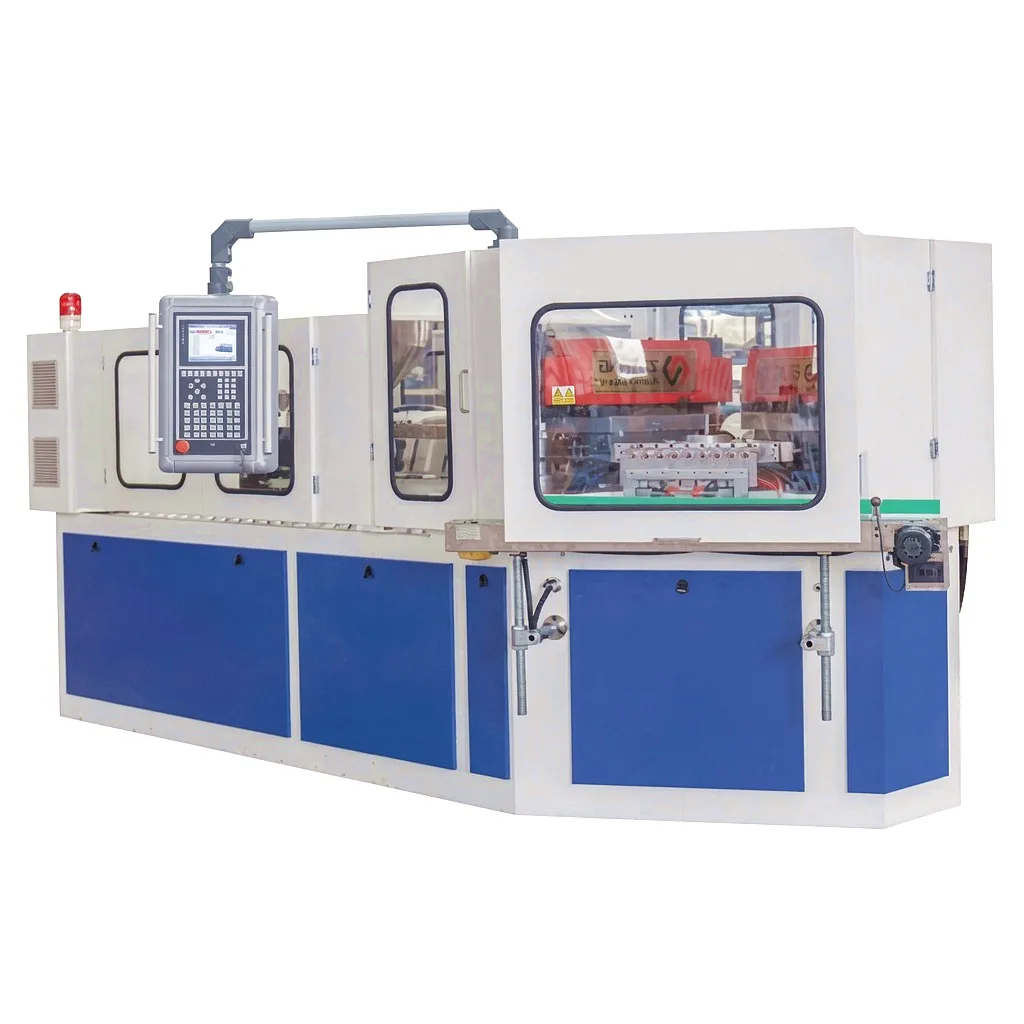
Blow Molding Process Comparison: IBM, ISBM, EBM, Extrusion
| Parameter | IBM | ISBM | EBM | Extrusion |
|---|---|---|---|---|
| Primary Materials | PET, HDPE, PP, PVC | PET (primary) | HDPE, PP, LDPE | HDPE, LDPE, PP |
| Neck Finish Precision | Very High (injection-formed) | Very High | Moderate | Lower |
| Wall Thickness Control | ±0.05 mm | ±0.04 mm | ±0.15 mm | ±0.25 mm |
| Changeover Time (full set) | 2.5 – 4 hours | 3 – 5 hours | 1 – 2 hours | 1 – 1.5 hours |
| Scrap / Flash | Very Low | Very Low | Moderate | Higher |
| Handle / Complex Shape | Not suited | Not suited | Yes | Yes |
| Pharmaceutical Suitability | High | High | Medium | Lower |
Safety Requirements and Pre-Changeover Preparation for UK Facilities
Step-by-Step IBM Mould Change Procedure: All Three Stations
The following procedure covers a full three-station mould change on a rotary IBM machine. Each station must be addressed in the correct sequence to prevent damage to the core rods, the index head, and the platen faces.
Initiate a controlled production stop. Set barrel heater zones to off and allow injection barrel temperature to fall below 80°C, and platen surfaces below 60°C. This takes 25–40 minutes on most IBM machines. Do not use compressed air to accelerate cooling — thermal shock in high-alloy steel cavities causes microfractures that are invisible until the cavity fails in production. Engage LOTO at the main isolator and hydraulic valve. Verify zero pressure on the hydraulic gauge before any tooling contact.
Disconnect all mould cooling water circuits using colour-coded tie labels to identify each line — core cooling, cavity cooling, neck ring — before disconnection. Position a drip tray beneath the mould area. After disconnection, apply a short low-pressure air pulse (maximum 0.3 MPa) to each circuit to expel residual water from the channels. Water retained inside the mould during extraction can cause surface corrosion on the cavity steel and compromise the sealing faces of the cooling manifold fittings.
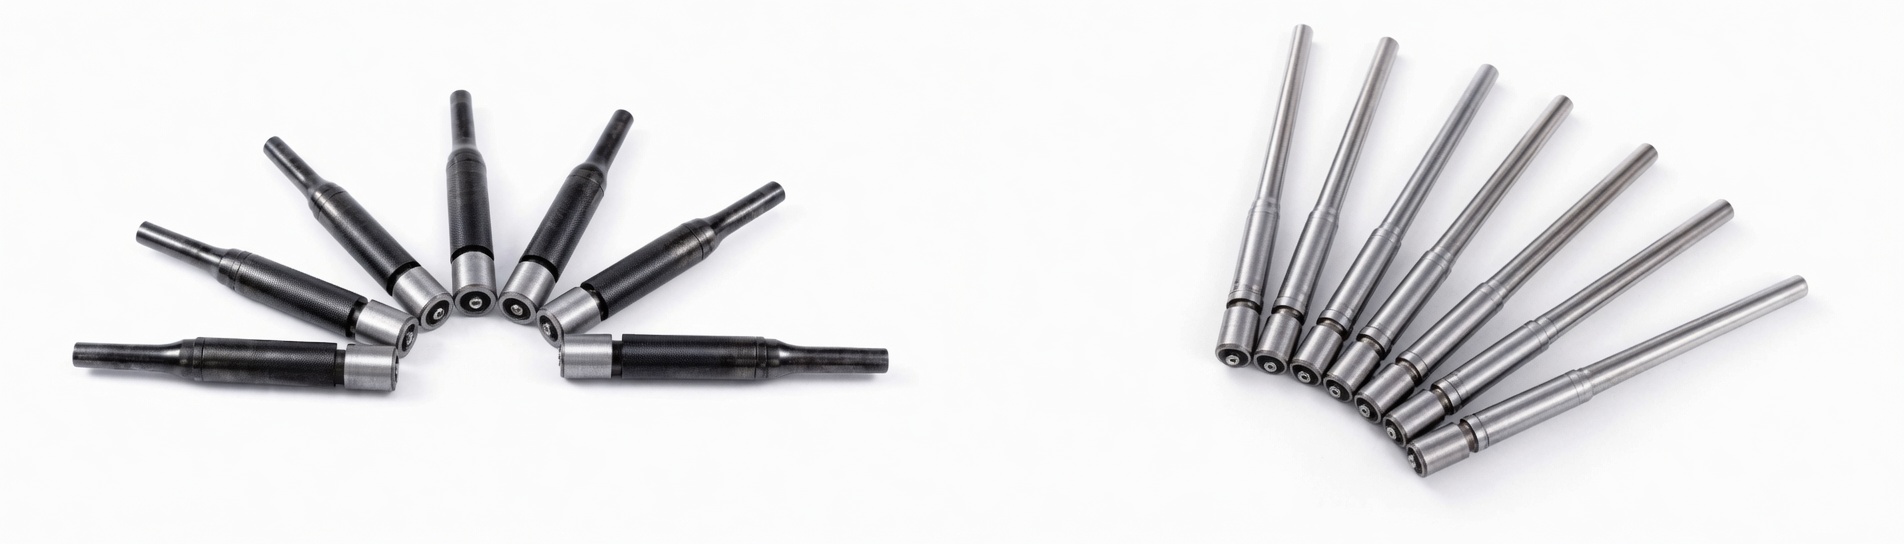
At the blow station, release the hydraulic tie-bar using the machine’s manual open function on the HMI. Attach rated hoist slings or mould-lift brackets to the designated lifting points — never improvise sling positioning, as tipping during extraction damages the parting-line face. Remove retaining bolts in a true cross-pattern sequence to prevent platen distortion. Withdraw each blow mould half carefully and set on the prepared wooden cradle. Inspect parting faces and neck ring inserts before storage.
Disconnect hot runner manifold electrical connectors and thermocouple leads, referencing your pre-disconnection photograph. Remove the cavity retainer plate, then extract cavity inserts — these are typically an interference-fit and may require a purpose-made puller tool. Never strike cavity inserts with a steel hammer; use a brass drift only if force is genuinely necessary and only on the designated extraction face. Brass won’t harden the steel surface the way an impact from a steel tool will, which matters for cavity longevity in pharmaceutical-grade tooling.
With all tooling removed, clean every platen mating face using lint-free cloths and isopropyl alcohol or an approved tool steel cleaner. Check for residual polymer stringing at the sprue area and remove carefully with a plastic scraper — never metal. Inspect each platen face with a straight-edge for flatness. Any raised burr or distortion exceeding 0.02 mm will prevent the new mould from seating fully, producing parting-line flash on every subsequent bottle. Stone any raised areas with a fine toolroom stone before proceeding with installation.
Lower the new injection cavity block onto the injection platen via the hoist, aligning the locating spigot (typically 100 mm or 150 mm diameter) to the platen ring. Seat the block fully before inserting any retaining bolts. Tighten bolts in a cross-pattern to the torque specification stated in the mould documentation — use your calibrated torque wrench, not estimated force. Insert cavity inserts in their marked orientation. Reconnect the hot runner manifold electrical leads and thermocouples in the order recorded in your pre-removal photograph.
Mount the new blow mould halves at the blow station. Verify that neck ring inserts are correctly seated and flush with the mould parting face — this defines the bottle’s thread or snap-on finish geometry and must be perfect. Confirm the blow pin (the compressed air delivery needle) is the correct diameter for the new bottle neck bore. A blow pin diameter mismatch is one of the most frequently encountered causes of neck-finish defects in UK IBM production. Torque all clamping bolts to specification.
Reconnect all cooling water circuits using your colour-coded labels. Open the water supply slowly and observe all fittings for leaks before applying full flow. IBM mould cooling circuits typically operate at 6–12 bar — even a small O-ring leak can escalate rapidly. Allow water to circulate for at least 5 minutes before beginning the thermal warmup sequence, to ensure the new mould reaches a uniform temperature across all cavity faces before the first production shot.
Do not skip this step under production pressure. With LOTO still engaged, use a dial indicator on a magnetic base to verify concentricity of the injection sprue bushing relative to the core rod axis. Acceptable runout for pharmaceutical-grade bottles is less than 0.05 mm; general consumer packaging tolerates up to 0.10 mm. Also verify even parting-line contact on the blow mould halves by inserting lead wire at four corners and measuring the compressed wire thickness after closing. Uneven readings indicate a seating or alignment problem that must be resolved before production begins.
Remove LOTO, restore electrical and hydraulic supply, and begin the warmup sequence. Load the saved parameter set for the new product from the HMI — barrel temperatures, injection shot weight, blow pressure, cycle time, and index timing. Run the machine on manual cycle for the first 3–5 shots. Inspect each part for flash, wall thickness variation, neck-finish integrity, and optical clarity (for PET). Only engage automatic cycle mode after first-off samples pass dimensional inspection against the part drawing. Log the changeover time, any deviations observed, and the first-off quality outcome in the maintenance record.
Wall Thickness Uniformity Control and Preheat Temperature After Mould Change
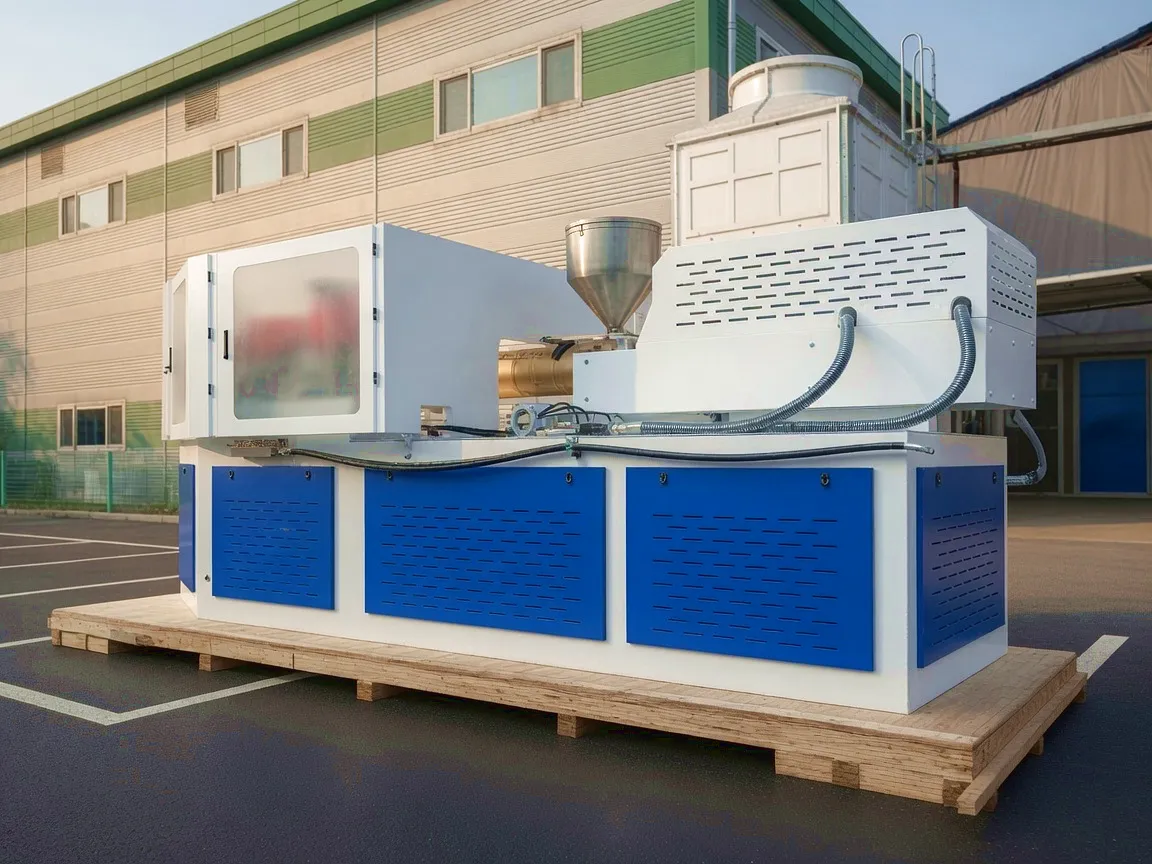
Mould Design Principles and Bottle Profile Optimisation for IBM
IBM mould design is more tightly constrained than EBM or ISBM tooling because the injection cavity, core rod geometry, and blow cavity must be matched as a coordinated set. Several design parameters directly influence the success of the blow molding machine mould change procedure and the quality of production output after changeover. Draft angles in the injection cavity should be a minimum of 1.0° per side for smooth core rod extraction; small-bore containers (under 28 mm diameter) benefit from 1.5° to prevent parison distortion during indexing. Blow cavity venting — typically 0.02–0.04 mm deep vent slots at the parting line and base plug — must be kept clean and clear of polymer debris during changeover. Inadequate venting after reassembly is one of the most reliable producers of surface haze and incomplete base formation in post-changeover production runs.
For PET pharmaceutical bottles — a significant proportion of UK IBM production concentrated in the Nottingham and Macclesfield pharmaceutical packaging corridors — cavity surface finish should be polished to Ra 0.1 µm or finer. This level of finish is essential not only for optical clarity but also to prevent contamination retention in the cavity surface between production runs. When designing for a new bottle profile on an existing IBM machine, the core rod length defines the maximum parison length and therefore the maximum achievable bottle height; this relationship is fixed by the machine’s index head geometry and cannot be overridden by mould design alone. Engaging with your machine supplier’s engineering team during new mould specification avoids the most common mould-to-machine incompatibility problems before tooling investment is committed.
Common Post-Changeover Defects: Troubleshooting Guide for IBM Operators
The table below covers the most frequently encountered quality defects following a blow molding machine mould change procedure on IBM equipment, with root causes and corrective actions specific to the IBM process architecture.
| Defect Observed | Most Likely Root Cause | Corrective Action |
|---|---|---|
| Parting-line flash | Debris on platen face, uneven bolt torque, worn leader pins | Stone platen face, re-torque in cross-pattern, replace leader pins/bushings |
| Thick base / thin sidewall | Core rod misalignment, barrel not at thermal equilibrium | Re-check concentricity with dial gauge, extend barrel soak time by 20 min |
| Surface haze / matt patches | Blocked or dirty vents in blow cavity, mould temperature too low | Clean vent slots with brass wire, raise mould temp 5–8°C, verify blow pressure |
| Neck-finish thread damage | Blow pin diameter mismatch, neck ring insert not flush at parting face | Verify blow pin specification, re-seat neck ring insert, check locking screws |
| Short shot at injection station | Sprue bushing misaligned, nozzle contact force insufficient | Re-align sprue, increase nozzle contact force, verify hot runner temperatures |
| Bottle sticking at strip station | Stripping sleeve misaligned, mould temperature too high, draft angle issue | Re-index stripping sleeve, reduce mould temperature 5°C, check core rod polish |
| Asymmetric wall thickness | Uneven cooling circuit flow, blocked water channel | Check flow rates per circuit with flow meter, flush channels with descaler |
Energy Consumption Optimisation Following an IBM Mould Change
IBM Machine Technical and Performance Parameters Table
| Technical Parameter | ZQ80 IBM | ZQ110 IBM | Unit / Notes |
|---|---|---|---|
| Clamping Force | 800 | 1100 | kN |
| Max Cavities | 6 | 8 | Per station |
| Container Volume Range | 5 – 500 | 10 – 1000 | ml |
| Injection Screw Diameter | 40 | 50 | mm |
| Barrel Temperature Range | 180 – 300 | 180 – 300 | °C |
| Hydraulic System Pressure | 16 | 18 | MPa |
| Blow Forming Pressure | 0.4 – 1.0 | 0.4 – 1.0 | MPa |
| Cooling Water Pressure | 0.3 – 0.6 | 0.3 – 0.6 | MPa |
| Wall Thickness Tolerance (PET) | ±0.05 | ±0.05 | mm |
| Mould Retaining Bolt Torque (M16 Gr.10.9) | 180 | 250 | Nm |
| Core Rod Material | P20 / H13 tool steel, hard chrome plated Ra 0.1 µm | — | |
| Cavity Material (pharma grade) | Beryllium copper or P20 steel, mirror-polished Ra 0.1 µm | — | |
| Platen Locating Ring Diameter | 100 | 150 | mm |
| Power Supply (UK / EU standard) | 400 V / 50 Hz / 3-phase | — | |
| Typical Mould Change Duration (trained team) | 2.5 – 3.5 hrs | 3 – 4 hrs | Full 3-station set |
Application Scenarios: Where IBM Mould Changes Drive Production Outcome
The significance of a well-executed blow molding machine mould change procedure varies by industry. The sectors below represent the primary IBM deployment environments in the UK, each with distinct changeover frequency, quality requirements, and regulatory context.
IBM is the dominant process for pharmaceutical solid-dose and liquid medicine bottles in the UK’s life sciences corridor. Neck-finish accuracy is non-negotiable for childproof closures and tamper-evident seals. Contract manufacturers in Nottingham and Macclesfield typically perform 3–8 mould changes per week, making changeover procedure quality directly determinative of GMP compliance and batch release rates. Post-changeover first-off inspection is typically required under ISO 15378 pharmaceutical packaging certification.
Birmingham’s cosmetics packaging sector manages some of the highest mould change frequencies of any UK IBM application. High SKU counts — shampoo, lotion, eye care — with short run lengths drive multiple changeovers per shift on some lines. IBM’s optical clarity in PET and zero post-moulding trimming make it the preferred process for cosmetics containers where brand presentation is critical. Efficient changeover procedures are a competitive differentiator among West Midlands contract packagers competing on turnaround time.
IBM HDPE and PP bottles for condiments, sauces, and dairy products are manufactured across Yorkshire food producers. In food-contact environments, all changeover lubricants must meet food-grade certification, and the mould must be sanitised before first production after any intervention. Sheffield-area food manufacturers are increasingly adopting mould trolley staging systems to reduce changeover time below 90 minutes and maintain scheduled production windows for their major retail clients.
HDPE IBM containers for agrochemicals, livestock medicines, and fertiliser concentrates represent a growing niche across East Anglian manufacturing sites. Chemical resistance and consistent wall thickness are essential to prevent stress-cracking and product migration in long-storage applications. These IBM lines experience less frequent but higher-stakes changeovers where a single post-changeover quality failure has regulatory implications under UK REACH and Biocidal Products Regulation frameworks, making thorough adherence to the mould change procedure critical.
Ever Power: IBM Machine Precision Manufacturing and Customisation for UK Buyers
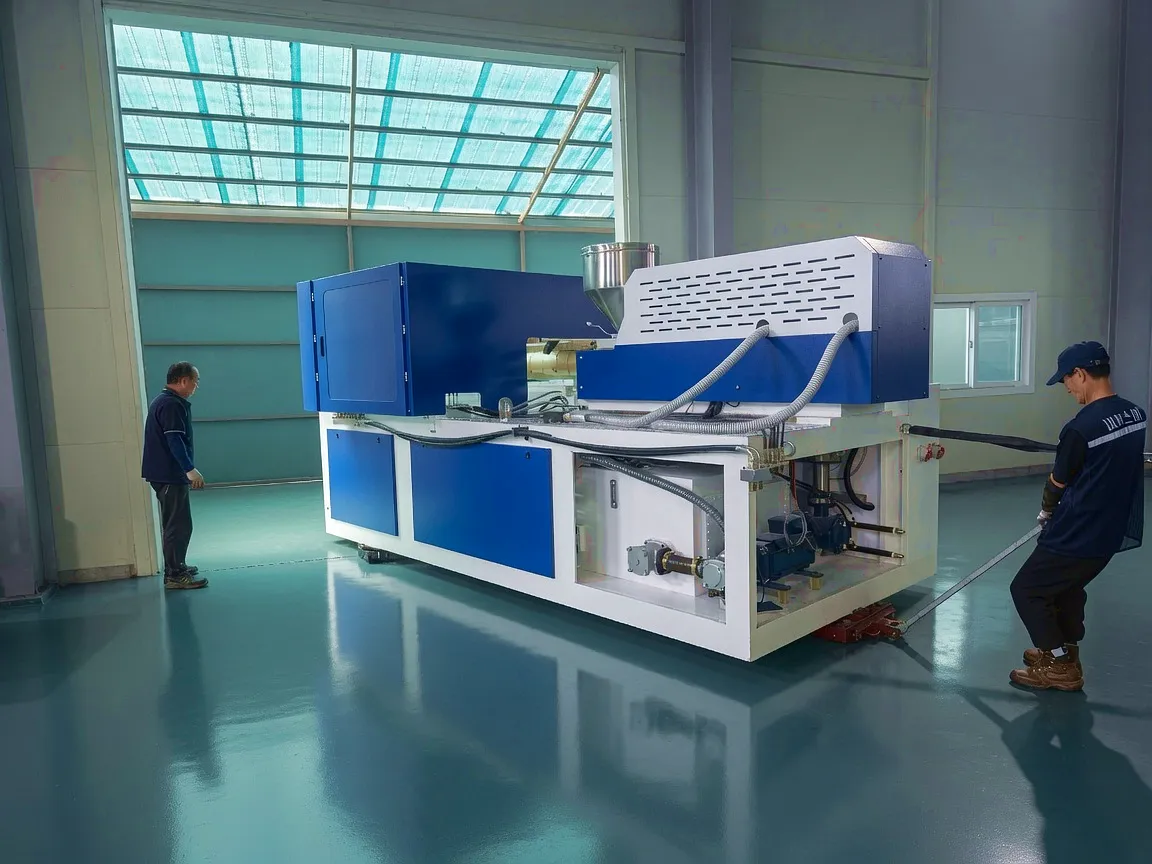 Ever Power is a precision manufacturer of injection blow molding machines with a production facility equipped with CNC machining centres, CMM inspection equipment, and a dedicated mould-and-tooling workshop. For UK buyers, machines are supplied with 400 V / 50 Hz three-phase power configuration as standard, CE documentation, and full English-language HMI interfaces. This removes the commissioning friction that has historically complicated IBM machine procurement from Asian manufacturers for British production teams.
Ever Power’s customisation capabilities span the full machine specification: clamping tonnage from 40T to 150T, cavity counts from 2 to 8, and bespoke tooling designed to match customer bottle specifications from drawing stage. The engineering team reviews existing bottle drawings and recommends core rod dimensions, blow pin geometry, and platen interface specifications that ensure the mould integrates with the machine from day one. European spare-parts stock covers high-wear items — hot runner tips, core rod sets, stripping sleeves — with short lead times that support UK manufacturing operations without lengthy import waits.
Ever Power IBM Machine Range for UK Manufacturers
Two models from the Ever Power IBM range are particularly well suited to UK operations where changeover efficiency and output flexibility are core requirements:
A mid-range IBM platform with 80T clamping force, designed for PET and HDPE pharmaceutical and personal care bottles in the 10–500 ml range. Features a quick-release mould mount system that reduces core changeover tooling time. Its PLC-based closed-loop process control maintains consistent part weights across different mould configurations, making it well-suited to UK contract packagers managing multiple product SKUs with frequent changeover requirements.
The ZQ110 delivers 110T clamping force and accommodates up to 8-cavity tooling, making it the preferred choice for high-volume pharmaceutical solid-dose containers and cosmetics production. Its servo-driven index table reduces cycle time variability between mould configurations during and after changeover, helping operators achieve stable cycle performance faster. Platen area is expanded relative to the ZQ80, accommodating wider mould footprints for larger or more complex bottle designs.
Customer Success Story: Contract Pharmaceutical Packaging, Nottingham
 A contract pharmaceutical packaging manufacturer based in Nottingham had been operating two ageing EBM lines producing HDPE tablet bottles, and was receiving increasing complaints from healthcare clients regarding neck-finish consistency and wall-thickness variation that was causing capping failure on their automated filling lines. After reviewing IBM technology as an alternative, the production director approached Ever Power following a referral from a Birmingham-based equipment distributor.
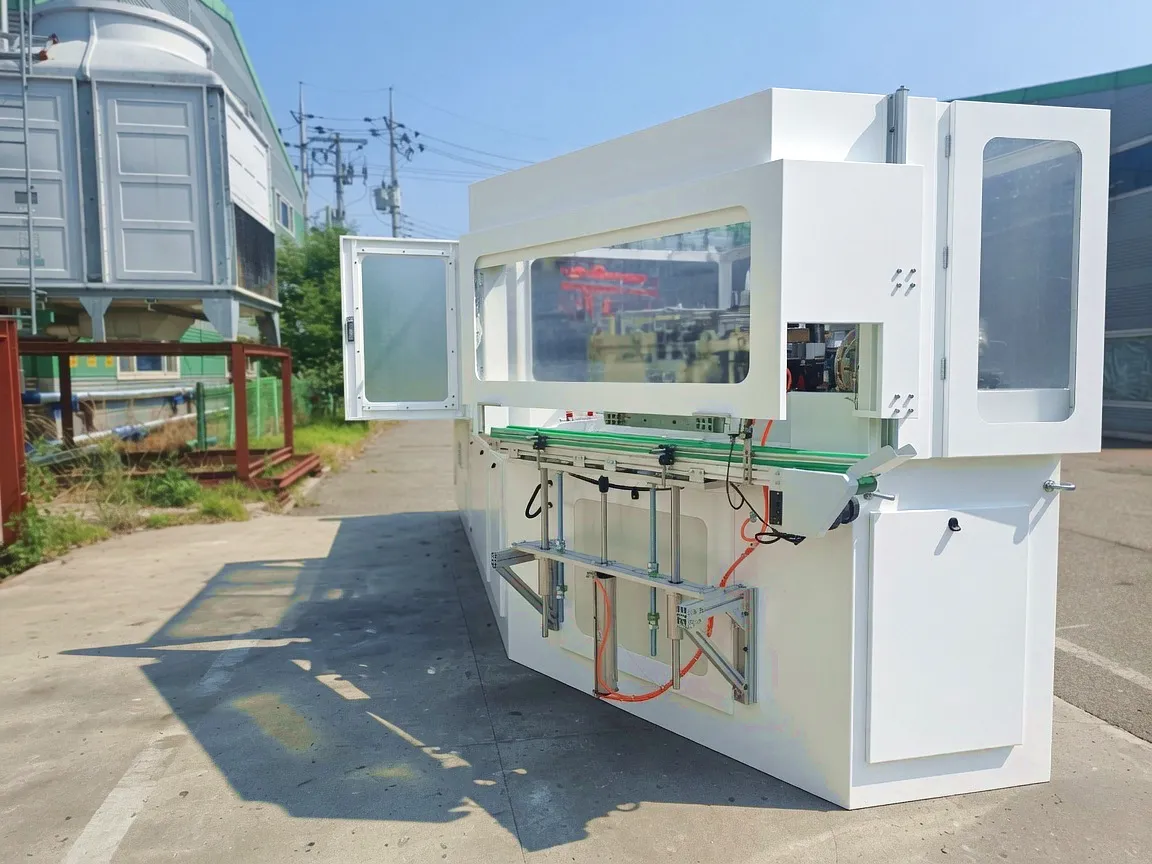
Ever Power supplied a ZQ80 injection blow molding machine and two matched 4-cavity mould sets — one for a 60 ml tablet bottle and one for a 200 ml liquid medicine bottle — both designed by Ever Power’s engineering team against the customer’s bottle drawings. Installation included a two-day on-site commissioning and blow molding machine mould change procedure training programme delivered in English by Ever Power’s service engineer for four of the customer’s maintenance technicians. The training covered the full changeover sequence, torque specification, alignment verification, and post-changeover process parameter setup.
Within the first six weeks of production, the Nottingham facility recorded a 94% first-pass quality rate on first-off inspections following each mould change, compared to a historical rate of approximately 72% on the previous EBM equipment. The documented changeover procedure was incorporated into the site’s ISO 15378 pharmaceutical packaging quality management system. The client subsequently ordered a second ZQ80 for a new product line serving a major UK generic pharmaceuticals customer.
“The changeover training Ever Power provided was exactly what our team needed. We went from 5-hour changeovers to under 3 hours in two weeks. The documentation package — torque specs, alignment procedure, process start parameters — is now the core of our maintenance SOP. First-off quality has been consistently above 90% since commissioning.”
“We had a non-standard neck finish for a cosmetics client and Ever Power’s engineering team redesigned the neck ring inserts without additional charge. The mould changes on the ZQ80 are clean and repeatable. Blow pin clearance was correct from the first changeover — no adjustment needed. That kind of precision upfront saves hours over a production year.”
“Spare parts availability was our biggest concern when choosing a Chinese machine supplier. Ever Power’s European parts stock resolved that completely — we had a replacement core rod set delivered to our Sheffield facility in four working days after a damaged component during a rushed changeover. That response time keeps us competitive.”
Frequently Asked Questions: IBM Mould Change Procedure in the UK
Answers to the questions UK production engineers and maintenance teams most commonly ask about IBM machine mould changes, tooling costs, and supplier selection.
Need a quote on an IBM machine, mould tooling, or on-site changeover training for your UK facility?
edit by gzl